Documentation Article
Setting up an EpicMenu
This guide will teach you the steps needed to create your own EpicMenus.
Introdution
Setting up an EpicMenu is very easy. In this guide you will be walked through setting one up step by step.
Step-by-step guide
Setting up your first EpicMenu is as easy as following these steps:
- Import the package from the Asset Store if you haven't done so yet.
-
Once the package is imported, open the EpicMenu Settings page from Window > HotTotemAssets > EpicMenu Settings

-
This will present you the main Window which lets you set up all your further EpicMenus. Click the Dropdown saying "None" to display all your EpicMenus or to set up a new one. In this case, we want to set up a new one so let's click "Create New..."

-
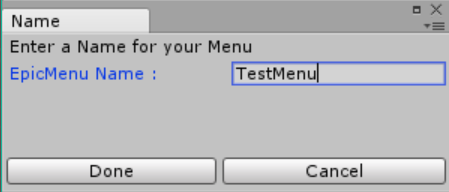
You will then be prompted to enter a name for your EpicMenu. This will help you to organize and find your menus once you created several once. In this demo, we will just name it "TestMenu":
-
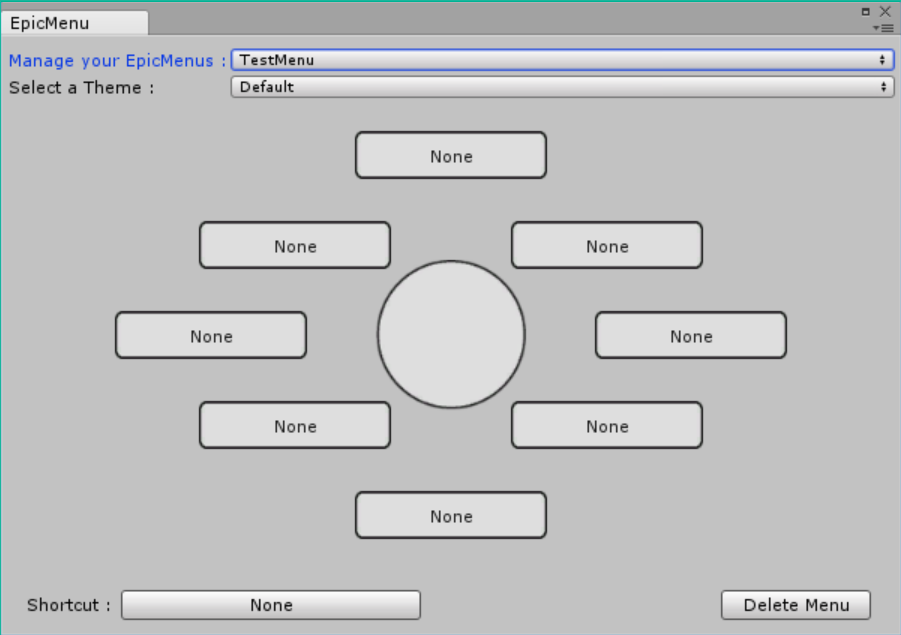
Next, you will be presented with the layout of your newly created EpicMenu. There are a couple of elements that need to be explained. Right below the Dropdown displaying the name of your new Menu, you will find a dropdown to select a theme. This is purely visual and lets you select from several predefined themes to adjust the menu to your preferred color scheme. We will stick with the default, Unity-inspired menu. Right beneath you can see the actual Menu. It is a pie menu, with a center dot and 8 shortcut slots. Each of these slots can hold up one action. This action will be executed when the slot is selected. You can then pick from a couple of predefined actions, or create your very own! But more on actions in another guide. Next up is the Shortcut button in the lower left corner. Here you can define a key-combination that will display your EpicMenu when working inside Unity. In the lower right corner is a button to delete a menu if you want to get rid of it. Let's define a shortcut next!
-
Click the Shortcut button saying "None" and the followin window will pop up:
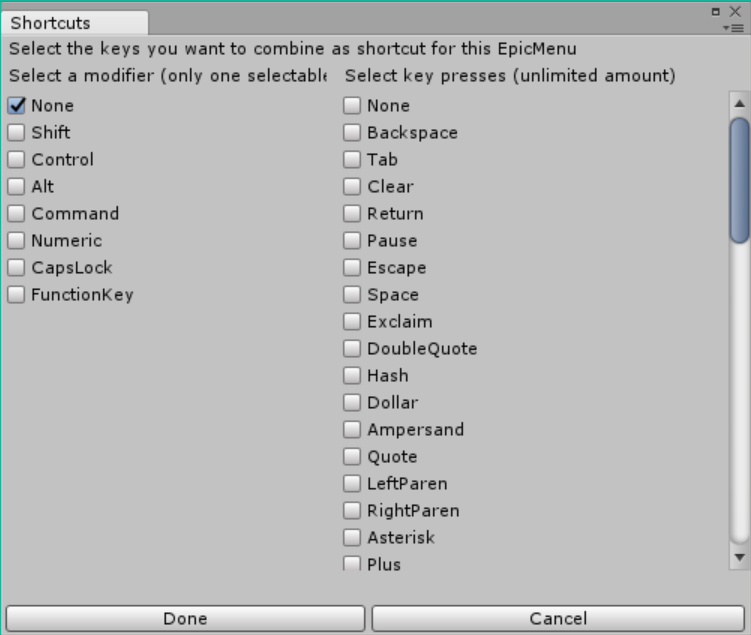
- You can select a single modifier key and as many "normal" keys as you want. In this example we will select Control andSpace, because that is an easy to hit combo.
- In a last step, you can assign actions to each slot. If you let it set to "None" the slot will be disabled and not visible later on. Set up your actions and close the window, you are now ready to test your menu!
The default actions are explained here.
- Press and hold your defined shortcut and the menu will pop up. Move your mouse around while keeping the shortcut pressed, you can then see that the Action directed towards your mouse will be highlighted. Release the shortcut to execute the action. If you want to cancel the shortcut, simply move your mouse back to the center point, and you will see no action will be highlighted, then release the shortcut.
That's it ! If you want to find out more on Actions, read the following guide : Creating Custom Actions